The butchers is my adult version of the "sweet shop" and I love it, I become like a kid, the proverbial Charlie but surrounded by dressed cow other acceptable meat sources.
My favorite me reward buys are the double cut prime rib and the 2 inch thick porterhouse, wet aged of course.
Both are lovely juicy cuts with loads of fat that brings so much flavor to the steak, the only quasi down side to these steaks is that they are sharing steaks, you can try finish these on your ace, but too much of greatness will corrupt the experience.
Grilling a 2 inch monster
Before we get grilling
For the grilling of the 2 inch monster I like to use a Weber, the reason for this is that i don't cook the steak over direct heat the for the entire process, if you don't have a grill of that sort, there is no need to panic, you can use the oven, I will explain how below.
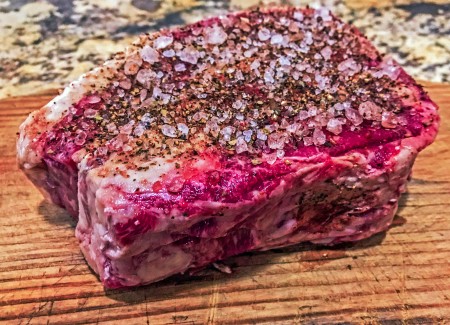
For our steak we used a homemade dry rub which consists of one teaspoon of crushed black pepper, one tablespoon sweet dry basil, half a teaspoon garlic powder, one quarter of a teaspoon of powdered clove, one quarter of a teaspoon of cayenne pepper and a hand full of coarse salt, I like to use coarse salt in my rubs because you can really over do the rubbing and the finished item won't come out too salty, that said you can use what ever dry rub you like because at the end of the day it is you who will be eating it.
Pre Crunch Time
1 Remove the steak from the fridge 2-3 hours before grilling, this will bring it up to room temperature, which is essentially a good place to start on mammoth steak like this. Rub the steak thoroughly with the dry rub (NOW IS NOT THE TIME FOR CONSERVATIVE BEHAVIOR) and place it somewhere safe from flies and higher than room temperature heat sources.
2 An hour before you intend to cook your monster is a good time to get your grill ready, you will want a hot fire with a lot of coals, once the coals are hot, move them to one half of the grill, this is only if you have a Weber type grill that can close and create an oven, if you don't have a gill like that, you can preheat and oven to 150℃ 15 mins before you start.
3 Ready a set of tongs, a clean wooden chopping board, some tin foil and if you are using the oven to finish the steak your grill rack and drip tray. Make sure that your grill is on the fire and that it is clean, to clean the grill, wait for it to become hot and simply rub it with a halved lemon or onion.
Crunch time
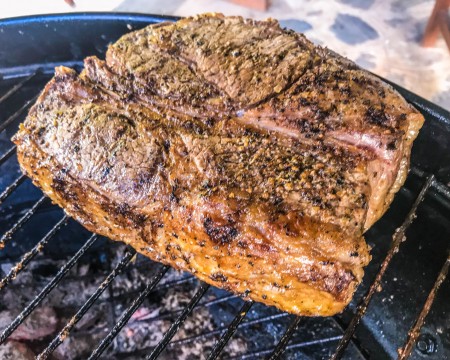
4 Identify the hottest part of your grill and place you steak gently on to it, there will be flair ups and fire and chaos, this is a good thing, if it does get out of hand move the steak to a different spot.
5 You will want to grill the steak for 5 - 7 mins per each of the 3 sides (this includes the thick fat side) depending on how hot the fire is, the steak should be a nice medium brown color with char marks and the fat should be rendering.
6 After the pre-sear, move the steak to the side of your grill that has no coals underneath, position the steak with the bone facing the heat source, if it's boneless then fat side towards the heat. Close the grill and roast for 10 -15 mins. If you have gone the oven route, place the steak in the oven for the same amount of time.
7 To check if the steak is ready, gently press your middle finger and your thumb together, then press on the meaty part of your palm just under your thumb, now press on the steak, if the steak feels the same, it is medium rare, if it is harder, it is cooked more and if it softer less so.
8 After you are satisfied that the steak is done to your value system, it is time for a good luck post-sear AKA a reverse sear, pop the steak back on to your hot spot for 4 - 5 mins per each of the three sides.
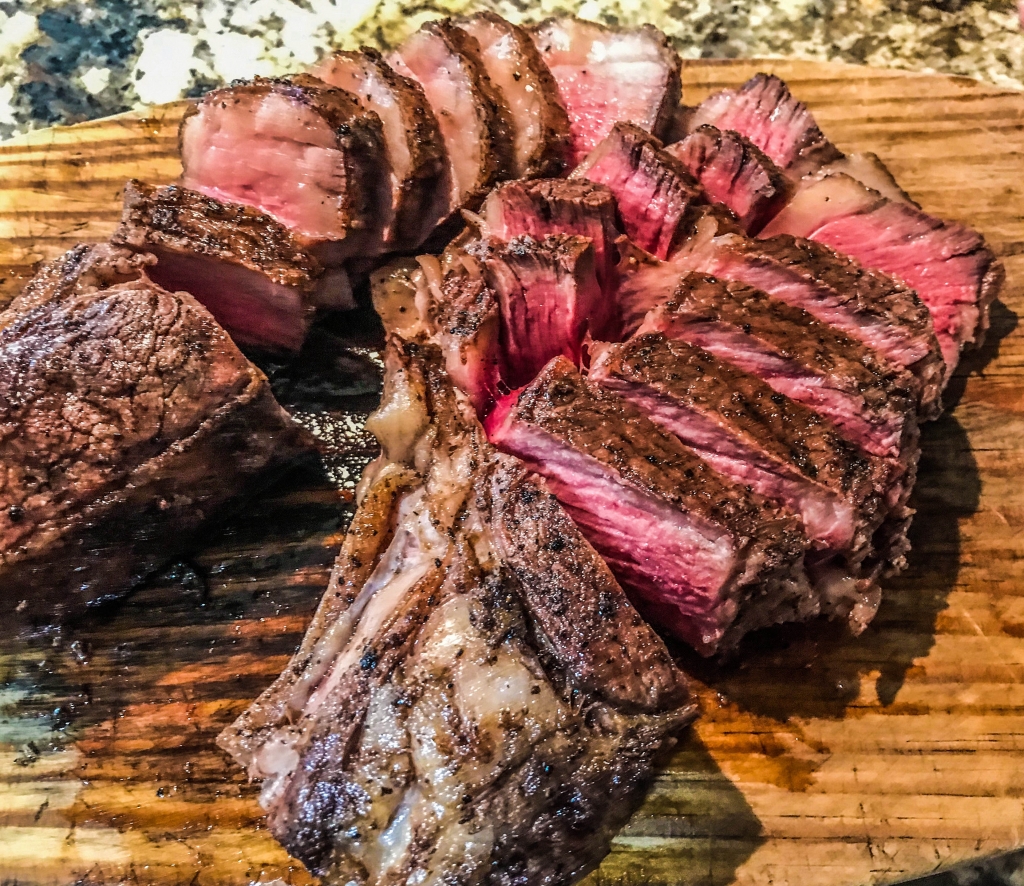
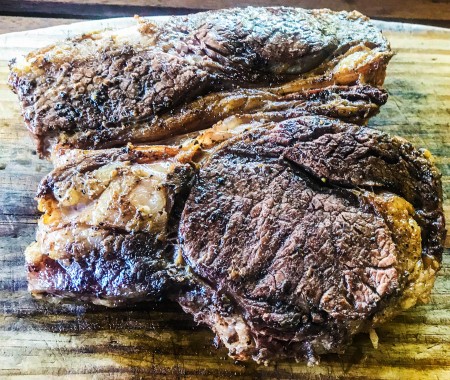
9 Now for the hardest part, not touching it while it rests, the steak will need to rest for about 10 mins, to rest the steak place it on a clean dry wooden chopping board then loosely cover with the foil paper. If you don't have a wooden board a warm plate will do. Resting the steak will will keep it juicy, if you cut into it right away it will leak liquid and won't stay juicy.
10 Once rested slice up that bad boy and enjoy.
Well that's all folks
All that is left to say is this, have fun, cooking done right doesn't have to be stressful, just learn and stick to the main techniques: bringing the meat up to room temperature before starting, searing the meat, feeling done'ess by touch, the reverse sear and resting the steak, you will only need to get it right once and you will have a feel for it.
Here's to hot grills and cold beers. Good luck and happy grilling...

